



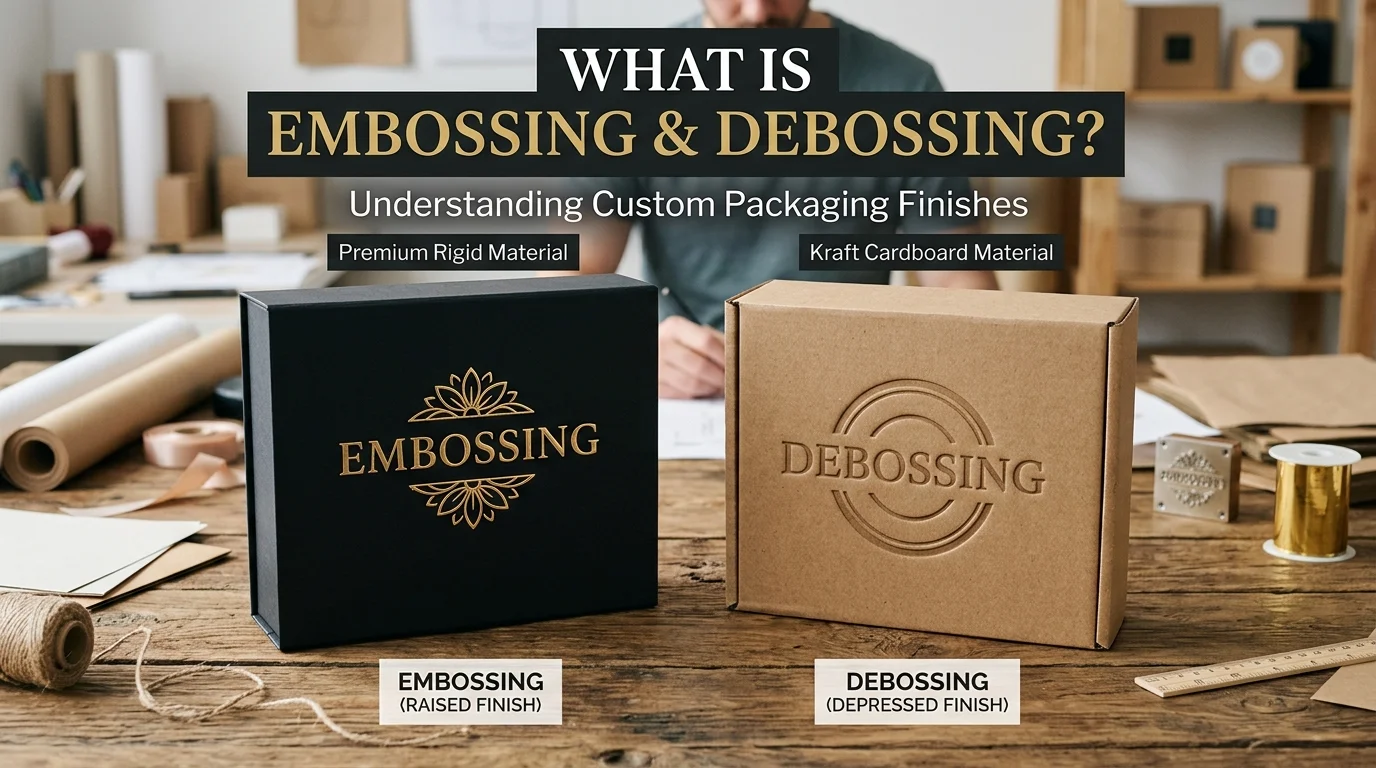
What Is Embossing and Debossing? A Practical Guide to the Process, Materials, and When to Use Each
August 13, 2026 Explore Blogs
Quick answer: Embossing raises a design above the surface of paper or another material; debossing presses it below the surface. Both are done the same way: a material is squeezed between two matched metal dies (a raised die and a recessed counter-die) under heat and pressure until it permanently takes the new shape. The choice between them is mostly aesthetic and structural: embossing draws the eye and hand to a raised detail, while debossing leaves the reverse side of the material untouched, which matters when you need both faces usable.
Embossing vs. Debossing: The Core Difference
| Embossing | Debossing | |
| Effect | Design raised above the surface | Design pressed below the surface |
| Die pressure direction | Applied from behind the material, pushing the design up | Applied from the front, pushing the design down |
| Back-side impact | Leaves a visible indentation on the reverse | Leaves the reverse side flat and unaffected |
| Common uses | Logos, initials, decorative patterns, luxury packaging | Text-heavy marks, subtle branding, leather goods, book covers |
| Feel | More pronounced tactile “bump” | Understated, often used where a heavier feel isn’t wanted |
Both are dry, non-ink processes at their core; the shape is created by physically deforming the material, not by printing on it. Color or foil is optional and applied separately (more on that below).
How the Process Actually Works
The Die and Counter-Die
Every embossed or debossed piece is made with a matched pair of tooling:
- The die: the primary engraved plate, typically machined from zinc (cost-effective, good for simple shapes), copper (durable, holds fine detail), magnesium (lightweight, common for shorter runs), or brass (highest precision, used for combination foil-and-emboss work). Modern dies are cut using laser engraving or CNC machining rather than hand-tooling, which is largely reserved for artisanal or very low-volume work.
- The counter-die is the matching negative shape that the material presses against from the opposite side. Counter-dies are made from several materials depending on run length and desired edge sharpness: “yellow board” (a dampened chipboard-like material stamped into shape under heat, inexpensive, good for short runs, produces slightly rounded edges), epoxy or poured fiberglass (harder, produces sharper edges, suited to longer runs), or etched magnesium for the highest-precision jobs.
The full stack of material sitting beneath the die during the press run, the counter-die, any base packing, and shims used to fine-tune depth is called the make-ready. Adjusting the make-ready is how a print shop fine-tunes emboss depth and edge crispness before a full production run.
Heat, Pressure, and Depth
The material is sandwiched between die and counter-die, then a press applies heat (roughly 80–150°C / 175–300°F for paper stocks) and pressure (commonly in the range of 50–200 tons, scaled to the size and thickness of the area being formed). Heat softens the fibers enough to reshape without tearing; pressure holds the new form until the material cools and sets permanently.
Emboss depth is a real engineering constraint, not just a design choice: typical depths range from about 0.004 inch for a subtle texture to 0.025 inch for a dramatic, deep relief. Because embossing physically stretches the paper’s fibers, going too deep on too small an area is the most common cause of tearing, which is why multi-level dies are designed with the deepest recesses over the largest areas of the artwork, not the smallest.
Types of Emboss (and How They’re Named)
| Type | What it is |
| Blind emboss | No ink or foil, just the raised or recessed shape, relying entirely on light and shadow for contrast |
| Registered emboss | The emboss is precisely aligned (“registered”) with a printed or foiled design so the two line up exactly |
| Combination emboss (also called foil emboss) | Foil stamping and embossing done in the same pass, so the raised area also carries metallic or colored foil |
| Sculptured/multi-level emboss | A die cut with more than one depth level, producing a more sculptural, dimensional relief rather than a single uniform height |
| Glazing | Heat applied to polish the embossed area to a shiny finish, most effective on darker, heavier stocks |
| Scorching | Heat pushed beyond normal levels to deliberately darken or “age” the embossed area; requires careful control, since too much heat burns through the stock instead of shading it |
What Materials Can Be Embossed?
Paper and cardstock are the most common substrates, but the technique works on any material that deforms under pressure without cracking and holds its new shape afterward: leather (belts, wallets, footwear), metal (aluminum, brass, copper via stamping), acrylic, wood, cloth, and flexible films like Mylar (common in premium packaging pouches, though intricate designs emboss less cleanly on flexible film than on rigid stock).
Paper Selection: What Actually Works
Not every paper embosses well, and this is where many print jobs go wrong before the die is even cut:
- Minimum practical weight: roughly 90–130 GSM (about 60–80 lb cover weight) for detailed work. Lighter text-weight papers tend to tear at fine die edges and won’t hold depth on multi-level embosses.
- Uncoated stocks generally emboss more cleanly than coated stocks, because the surface fibers deform more readily without the coating layer resisting or cracking.
- Heavier, higher-GSM stock holds sharper detail and deeper relief; this is why premium embossed pieces (invitations, luxury packaging, business cards) tend to use noticeably heavier stock than standard print jobs.
Design Prep Checklist
- Submit vector art, not raster art. Vector files translate cleanly into a die at any size; raster (pixel-based) art loses edge precision when converted to a physical engraving.
- Keep the embossed element simple. Because embossing adds real physical dimension to a flat design, artwork that’s already shaded or rendered to look 3D tends to distort under a die. Simple line art, type, and logos emboss most predictably.
- Treat embossing as an accent, not the whole design; in most cases, small logos, initials, or a repeating pattern on a card cover read as intentional and premium; embossing an entire complex illustration is harder to execute cleanly and more prone to tearing.
- Plan for the back side. Embossing always leaves a visible mark on the reverse of the material; debossing doesn’t. If you need both faces clean, debossing (or embossing on a piece where the reverse won’t be seen) is the better fit.
Cost: Why Embossing Costs More Than Flat Printing
Embossing and debossing require a dedicated press run separate from standard ink printing, plus a custom-engraved die made specifically for the design. The die is a one-time tooling cost, typically treated as a setup fee amortized across the print run, so per-unit cost drops as volume increases, but the upfront die cost is fixed regardless of quantity. Combination techniques (foil plus emboss) cost more still, since they require tighter registration and often a more precision-machined die material like brass.
Frequently Asked Questions
What is the difference between embossing and debossing?
Embossing raises a design above the surface of the material; debossing presses it below the surface. They use the same die-and-counter-die process; only the direction of pressure differs.
Which is better: embossed or debossed?
Neither is objectively better; it depends on the effect you want. Embossing creates a more pronounced, tactile raised detail and tends to read as more decorative or luxurious. Debossing is more understated and leaves the back of the material completely unaffected, which matters for double-sided pieces like folded cards or book jackets.
Can embossing be combined with color or foil?
Yes. A blind emboss has no color at all, just the raised or recessed shape. A registered or combination emboss precisely aligns the die with printed ink or foil stamping so the raised area also carries color or metallic finish.
What paper works best for embossing?
Uncoated cardstock in the 90–130 GSM (roughly 60–80 lb cover) range or heavier. Lighter papers are prone to tearing at fine die edges, especially on deeper or multi-level embosses.
How deep can an emboss go?
Typical depths run from about 0.004 inch (subtle texture) to 0.025 inch (dramatic relief). Deeper embosses need to sit over larger areas of the design, since concentrating deep relief in a small area is the most common cause of paper tearing.
Does embossing show through to the other side of the paper?
Yes, embossing physically deforms the material, so the reverse side will show an indented mirror of the design. Debossing has the same effect in reverse: the front stays flat while the reverse shows a raised mirror image. If a truly clean, unaffected reverse side matters for your project, plan the layout around that constraint before the die is cut.
Sources
- Industry process and materials terminology (die metals, counter-die construction, make-ready) as documented by commercial print and packaging technical guides
- Standard paper-weight and embossing-depth ranges as published across commercial printing and packaging technical resources
This guide reflects standard commercial print-industry terminology and process specifications as of August 2026. Exact depth, pressure, and material recommendations vary by press equipment and print vendor; confirm specifics with your printer before finalizing die artwork.
Also Read Our Related Blog: What Is Screen Printing? A Complete Guide for Small Business Owners