




How to Mail a Bubble Mailer: Addressing, Packing & Shipping Guide
September 14, 2026 Explore Blogs
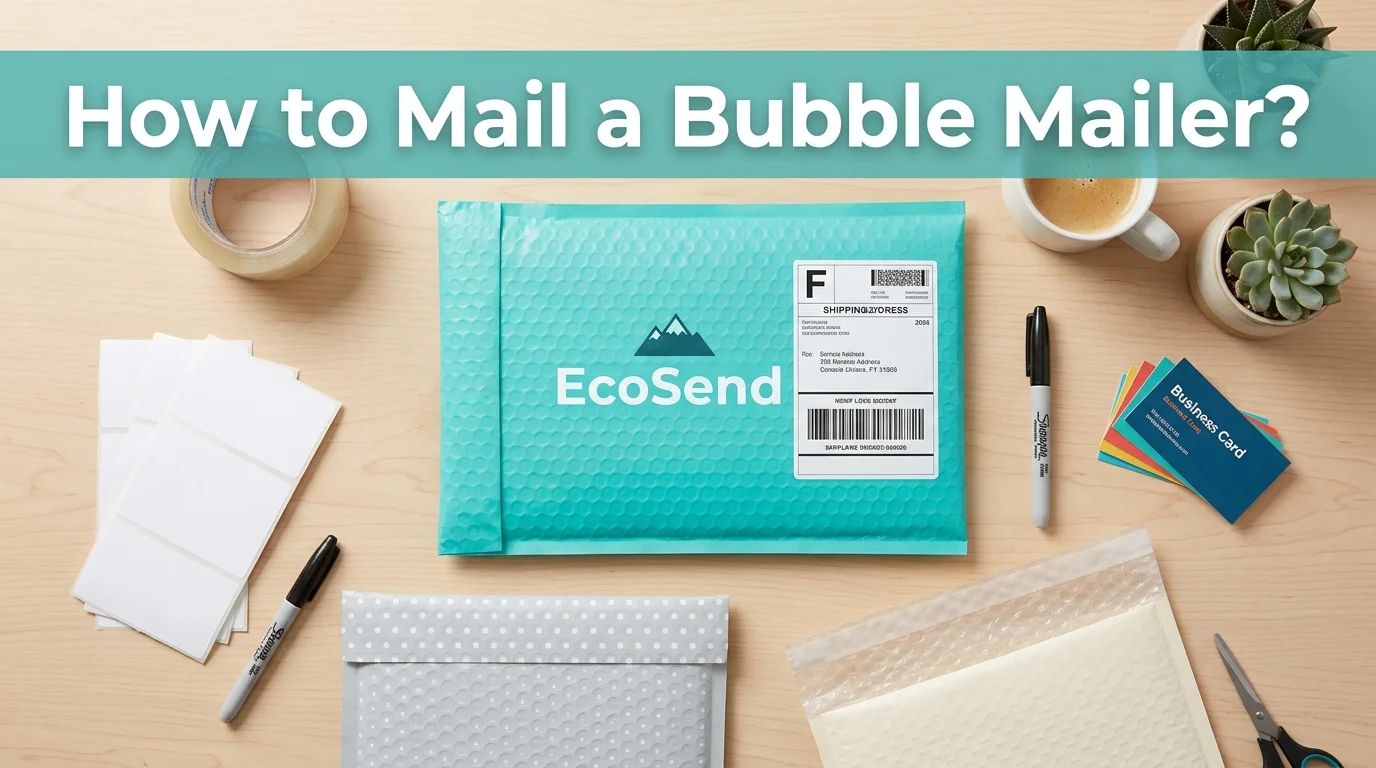
Quick answer: To mail a bubble mailer correctly: (1) pick a size that leaves about half an inch of clearance around the item, (2) write or print the recipient address centered on the front panel and the return address in the top-left corner, (3) pack the contents so nothing shifts when shaken, (4) seal it flat, and (5) weigh and measure the sealed mailer before buying postage because thickness, not just weight, decides whether USPS prices it as a letter, a flat, or a parcel. Getting that classification wrong is the single most common reason bubble-mailer postage costs more than expected.
What a Bubble Mailer Actually Is (and What It Isn’t)
A bubble mailer is a padded shipping envelope paper or poly outer shell with a bubble-wrap or air-cushion lining, used for small, semi-rigid items that don’t need a full box. It sits between two other formats people often confuse it with:
| Format | Structure | Best for |
| Plain envelope | Single-ply paper, no cushioning | Documents, letters, flat items |
| Bubble mailer / padded envelope | Paper or poly shell + bubble lining | Small electronics, books, jewelry, non-fragile retail goods |
| Corrugated mailer box | Rigid fluted cardboard, folds into a box | Fragile, oddly shaped, or higher-value items needing structural protection |
“Bubble mailer,” “padded envelope,” and “padded mailer” are used interchangeably in the shipping industry; there’s no meaningful technical difference between the terms.
Step 1: Choose the Right Size and Style
Sizing
Measure your item, then add roughly ½ inch of clearance on each side. Too tight, and the seams strain or the flap won’t seal flat; too loose, and the item shifts, which both risks damage and can push the package into “nonmachinable” handling, an automatic surcharge USPS applies to irregularly shaped or unevenly weighted mail.
If you’re shipping multiple items, don’t oversize a single mailer to fit them all; split them into two properly sized mailers. An oversized mailer with loose contents inside is more likely to trigger a size- or shape-based surcharge than two smaller, snugly packed ones, which usually offsets any savings from combining shipments.
Style
| Type | Structure | Use case |
| Self-sealing poly/paper mailer | Peel-and-stick adhesive strip | High-volume fulfillment; fastest to close |
| Kraft paper padded envelope | Paper shell, bubble lining | Documents, books, items sensitive to bending |
| Recycled/curbside-recyclable mailer | Paper-based cushioning instead of plastic film | Businesses standardizing on paper-stream recyclable packaging |
| Poly bubble mailer | Plastic outer shell, water-resistant | Moisture-sensitive items, longer transit routes |
Step 2: Address the Mailer Correctly
Address placement follows the same convention across USPS, UPS, and FedEx:
| Location | What goes there | Why |
| Top-left corner, front panel | Return address | Required for undeliverable-mail return; USPS standard placement |
| Center of the front panel | Recipient’s full address | Keeps it clear of seams and folds so optical scanners can read it |
| Directly below the return address, or wherever your printer places it | Shipping/postage label with barcode | Barcode must sit on a flat, unobstructed area to scan correctly |
| Open space elsewhere on the front | Handling notes (e.g., “Do Not Bend”) | Must not cover any part of the address block or barcode |
Formatting that scans reliably:
- Use a printed label where possible; if handwriting, use block capitals with clear spacing between lines.
- Avoid decorative fonts; sorting equipment reads standard sans-serif type (Arial, Helvetica) most reliably.
- For international shipments, put the destination country in capital letters on its own last line.
- If reusing a mailer, remove or fully black out every previous label and barcode; a partially visible old barcode can cause a mis-scan and misroute the package.
Step 3: Pack and Seal
- Test for movement. Give the packed mailer a gentle shake before sealing. If the contents shift audibly, add a layer of packing paper or an air pillow along the sides and bottom.
- Protect points of pressure. Corners, clasps, and sharp edges can push through bubble lining from the inside; wrap these separately before placing the item in the mailer.
- Center the weight. An unevenly weighted mailer is more likely to snag or get mis-sorted on conveyor equipment, and some carriers flag it as nonmachinable.
- Seal completely. Press the adhesive strip firmly along its full length; self-seal adhesive can lose tack in very hot or cold conditions, so keep sealed mailers flat and at room temperature until drop-off.
- Reinforce if needed. For higher-value or rigid contents, run a strip of tape across the flap seams but never over the barcode or address.
Step 4: Understand How Your Carrier Classifies It This Is What Sets Your Price
This is the step most guides skip, and it’s the one that actually determines cost. USPS sorts every mailpiece into one of three physical categories, and a bubble mailer can legitimately fall into any of them depending on its thickness and rigidity:
| Category | Max thickness | Max weight | Typical bubble mailer fit |
| Letter | 0.25 in | 3.5 oz | Only very thin, nearly flat padded envelopes; most bubble mailers exceed this thickness once packed |
| Flat (large envelope) | 0.75 in, must stay flexible and uniformly thick | 13 oz | Slim mailers with evenly distributed, low-profile contents |
| Parcel | No flat-rate thickness cap | Varies by service | Most packed bubble mailers, because bubble cushioning creates lumps and uneven thickness which disqualifies a piece from flat-rate pricing even if it’s under 13 oz |
The detail that surprises most people: USPS requires flats to be uniformly thick to qualify for flat-rate pricing. Bubble wrap, by its nature, creates a lumpy, non-uniform profile, so even a lightweight, thin bubble mailer often gets classified (and priced) as a parcel rather than a flat, regardless of what the scale says. If a mailer is rigid, non-rectangular, or unevenly thick, expect parcel pricing rather than letter or flat rates.
UPS and FedEx don’t use the letter/flat distinction at all; they price padded envelopes as parcels by default, based on weight and dimensions.
Practical takeaway
- Weigh and measure the sealed mailer, not the empty one; cushioning adds both weight and thickness.
- Don’t assume a stamp will cover it. If you’re calculating how many stamps to stack to cover the cost, that’s a strong sign the piece has already crossed into parcel territory and needs a shipping label instead.
- Postage rates and exact thresholds change periodically; confirm current pricing and size limits at usps.com, ups.com, or fedex.com before printing a label, since numbers here can shift between USPS rate updates.
Step 5: Pick a Service and Ship It
Once you know the classification, match it to a service:
- Thin, light, flat items that genuinely qualify as letters can move on First-Class Mail with standard postage stamps.
- Slim, evenly padded mailers under the flat-size and weight limits can use First-Class Mail flat-rate postage.
- Most padded/bubble mailers ship most cost-effectively through a parcel service: USPS First-Class Package Service or Ground Advantage for lighter weights, or UPS/FedEx Ground for heavier or time-sensitive shipments.
- Anything valuable, fragile, or irreplaceable (signed items, small electronics, jewelry) should go on a service with tracking and, if the contents warrant it, insurance and signature confirmation. Parcel services include tracking by default, while stamped letters and flats generally don’t unless it’s added separately.
Frequently Asked Questions
How do I address a bubble mailer?
Put the recipient’s full address centered on the front panel and your return address in the top-left corner, in a font and ink dark enough for automated scanners to read block capitals if handwritten, a standard sans-serif font if printed.
Where does the shipping label go on a bubble mailer?
On a flat, unobstructed section of the front panel, positioned so the barcode isn’t crossed by a seam, fold, or piece of tape. If a seam runs under the label, tape around the barcode without covering it.
Can I use regular stamps on a bubble mailer?
Only if the sealed mailer meets USPS letter limits under 0.25 inch thick, under 3.5 ounces, and uniformly flat. Once bubble cushioning is added, most mailers exceed the thickness or uniformity requirement and need parcel or flat postage instead of stamps.
Why did my bubble mailer get priced as a parcel instead of a flat, even though it’s light?
Because USPS flat-rate pricing requires the mailpiece to stay uniformly thick. Bubble wrap padding creates lumps, so even a mailer under the weight limit for a flat often fails the uniform-thickness requirement and gets parcel pricing instead.
How do I fill out a bubble mailer for reuse?
Remove or completely cover every old label, barcode, and postage mark before adding new ones. A visible fragment of an old barcode can cause a scanner to misread and send the package to the wrong destination.
What’s the difference between a padded envelope and a bubble mailer?
None, functionally, they’re the same product category described with two common names. Both refer to a padded shipping envelope with cushioning between two outer layers.
Sources
- USPS Postal Explorer, Publication 28 and Notice 123 physical standards and pricing for letters, flats, and parcels (dimensions and thresholds cited here reflect early-2026 published standards; verify current figures at usps.com before mailing)
- UPS and FedEx address-formatting and label-placement guidance, as published in each carrier’s shipping documentation
This guide reflects USPS classification rules and standard carrier practices as of August 2026. Postage rates change periodically; always confirm current pricing and size limits directly with your carrier before printing a label.
You may also like: https://customprintedpaper.com/blog/length-width-height-dimensions/